Here is a detailed guide on how to create an AI girlfriend with Ourdream AI:
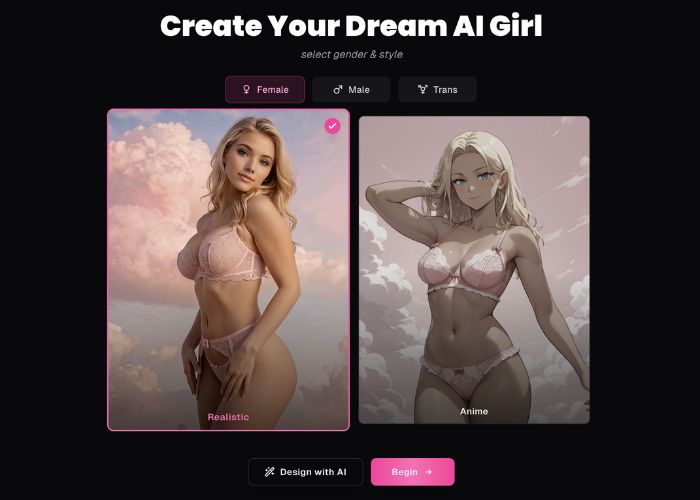
1) Style — Pick the overall look (Realistic or Anime)
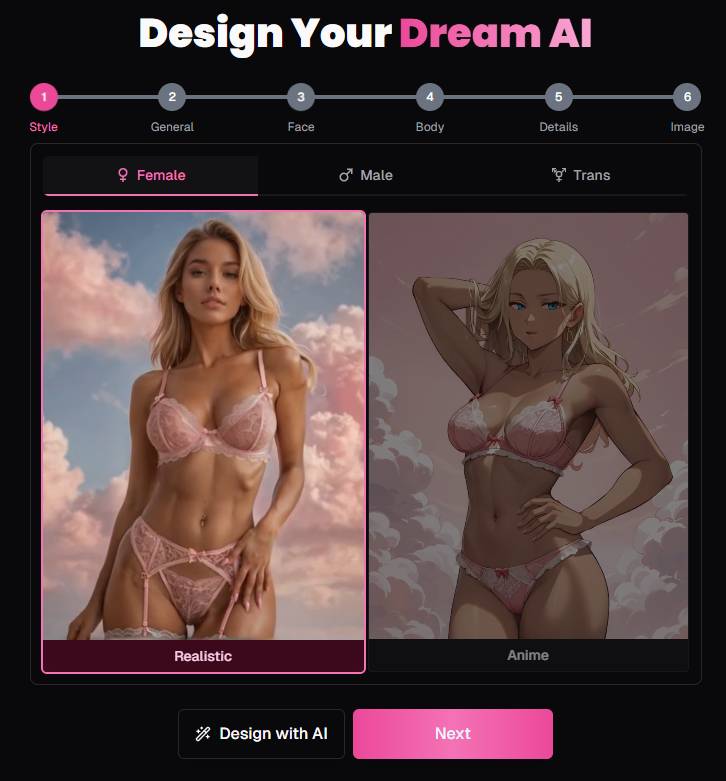
What you see:
- Gender tabs: Female / Male / Trans.
- Two visual styles: a Realistic card (photo-like) and an Anime card (illustrated).
- Buttons: Design with AI (lets the tool auto-suggest a look) and Next (go manual).
How to use:
- Choose the gender tab first.
- Click Realistic or Anime. The selected card gets a highlight.
- Optional: click Design with AI if you want the app to propose defaults; otherwise hit Next.
Pro tip: Decide style up front. Switching later can reset some choices.
2) General — Ethnicity, Age, Skin Tone
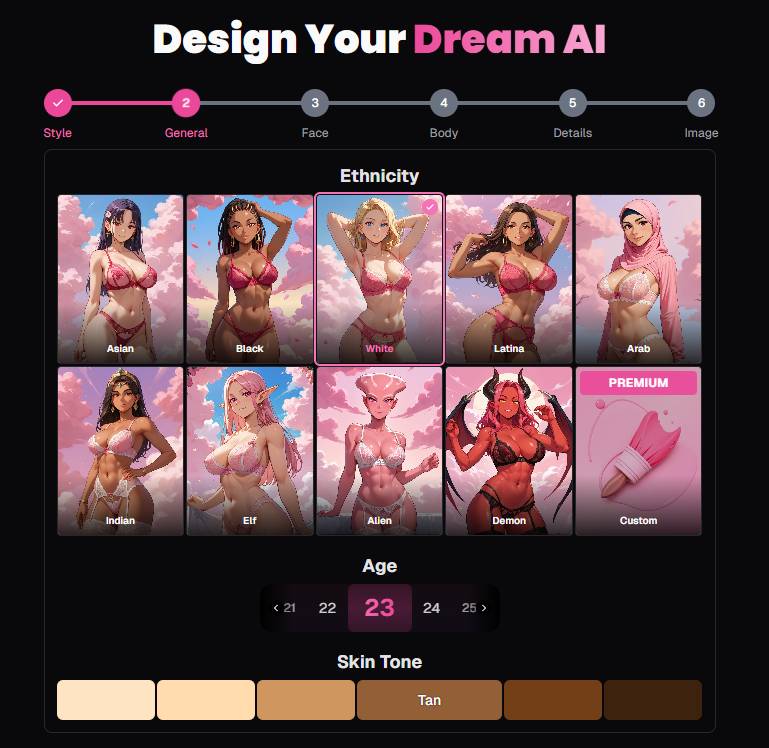
What you see:
- A grid of Ethnicity tiles (e.g., Asian, Black, White, Latina, Arab, Indian, Elf, Alien, Demon).
- A Premium / Custom tile appears on the right for advanced users.
- Age selector: a pill-style slider (e.g., 23 in the screenshot) with left/right chevrons.
- Skin Tone swatches: a row from light to deeper tones (including Tan variants).
How to use:
- Click an Ethnicity tile (selected tile gets a pink border).
- Set an Age using the left/right arrows or clicking the target number.
- Pick a Skin Tone by clicking a swatch.
Pro tips:
- Fantasy types (Elf / Alien / Demon) are supported if you’re going for non-human aesthetics.
- If “Custom” shows a Premium ribbon, you’ll need a paid plan to use it.
3) Face — Eyes, Hair Color, Hair Style

What you see:
- Eye Color swatches (black, brown, yellow, green, blue, purple, pink, white/grey).
- Hair Color swatches (black, brown, yellow/blonde, green, blue, purple, pink, white/grey).
- Hair Style grid: Braided, Long, Bangs, Ponytail, Short, Bun, Buns, Wavy, Pixie, plus a Premium / Custom tile.
How to use:
- Click an Eye Color swatch. The active one shows a clear highlight (e.g., Blue).
- Click a Hair Color swatch (e.g., Blonde).
- Choose a Hair Style card. The checked corner mark indicates the selection.
Pro tips:
- Mix & match bold eye colors with natural hair for contrast.
- “Custom” hairstyles are marked Premium.
4) Body — Body Type, Breast Size, Butt Size
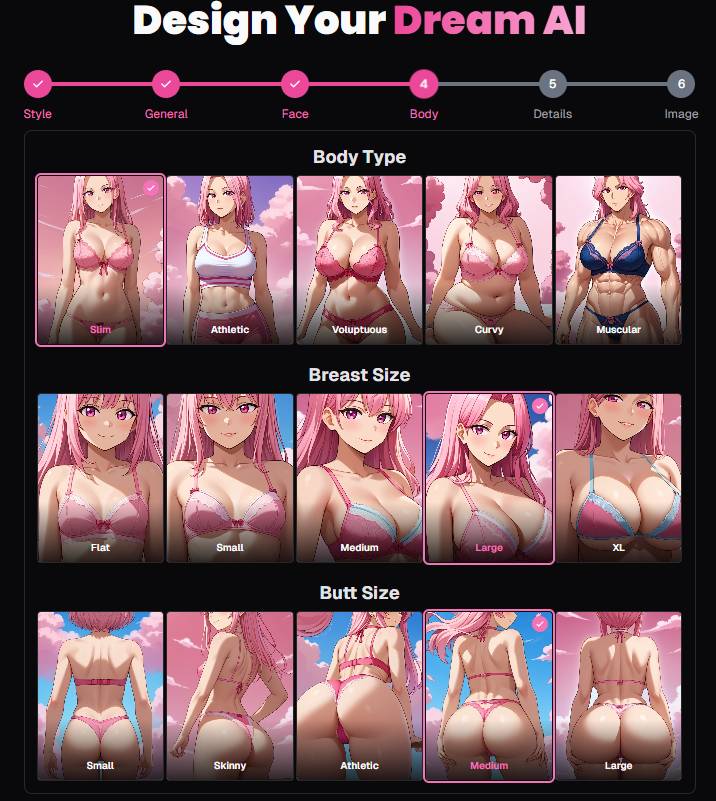
What you see:
- Body Type row: Slim, Athletic, Voluptuous, Curvy, Muscular (card layout with illustrations).
- Breast Size row: Flat, Small, Medium, Large, XL.
- Butt Size row: Small, Skinny, Athletic, Medium, Large.
How to use:
- Pick a Body Type card (e.g., Slim is highlighted in the screenshot).
- Pick a Breast Size card (e.g., Large is selected in the screenshot).
- Pick a Butt Size card (e.g., Medium is selected).
Pro tips:
- Each choice updates the preview on later screens.
- If you’re aiming for balance, pair Athletic body type with Medium sizes; for accent features, choose Voluptuous/Curvy with Large/XL.
5) Details — Name, Voice, Personality & Role
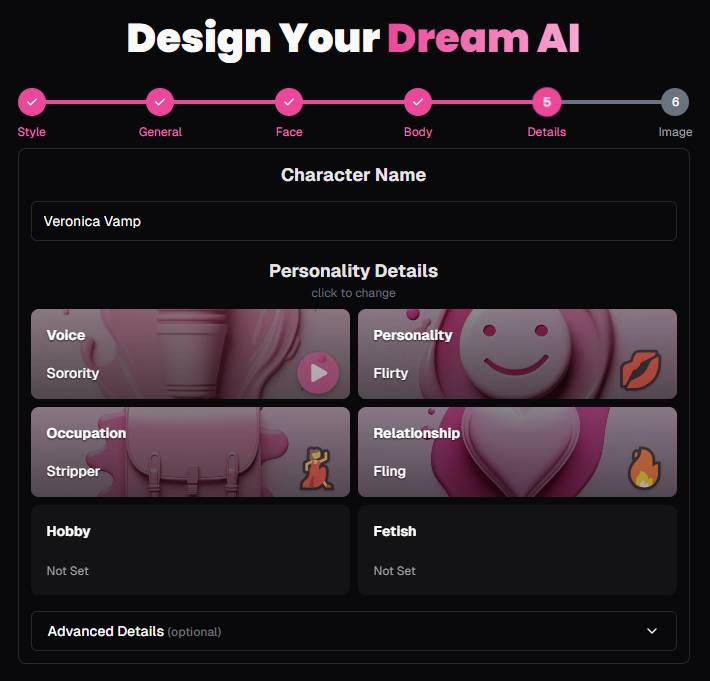
What you see:
- Character Name text field (e.g., Veronica Vamp).
- Personality Details grid with editable cards:
- Voice (e.g., Sorority) with a play ▶️ button to preview.
- Personality (e.g., Flirty).
- Occupation (e.g., Stripper).
- Relationship (e.g., Fling).
- Hobby (Not Set until you choose).
- Fetish (Not Set until you choose).
- Advanced Details (optional) collapsible panel for deeper configuration (open to add backstory, quirks, boundaries, etc. if available in your plan).
How to use:
- Enter a Character Name.
- Click each card to open its picker and choose a value (you can preview Voice).
- (Optional) Expand Advanced Details to fine-tune behavior, backstory, likes/limits, or conversation style.
Pro tips:
- Voice preview is your quick check for vibe—use it before finalizing.
- Keep Personality + Occupation + Relationship consistent (e.g., “Flirty + Bartender + Crush”) for more coherent roleplay.
- If available, set Hobby/Fetish thoughtfully; they guide chat topics and tone.
6) Image — Final Preview & Fine-Tuning
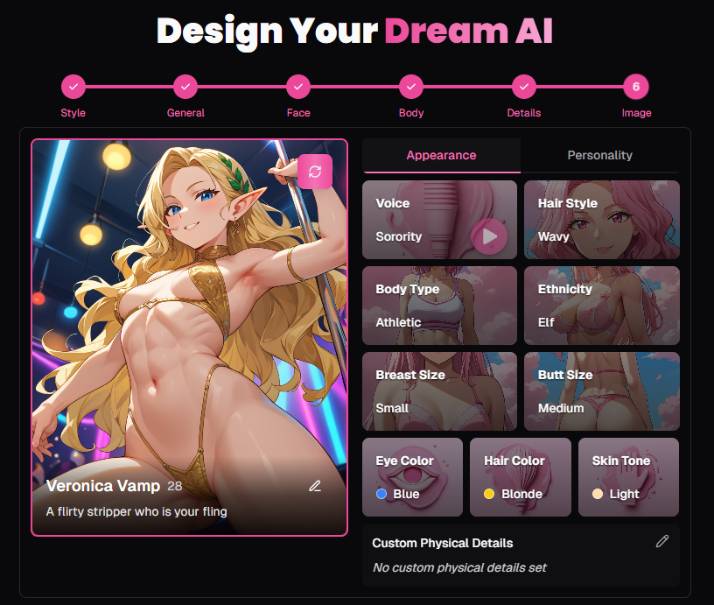
What you see:
- A large preview card of your AI girlfriend with:
- Name (e.g., Veronica Vamp), age tag, and a tagline (“A flirty stripper who is your fling”).
- Edit (pencil) icon on the bottom right of the card caption for quick tweaks.
- A swap/refresh icon near the top-right of the image (looks like a rotate/refresh with sparkles) to re-render or cycle variants.
- Tabs on the right: Appearance and Personality (quick-edit panels).
- Appearance shows your selections as cards (e.g., Voice: Sorority, Body Type: Athletic, Breast Size: Small, Butt Size: Medium, Eye Color: Blue, Hair Color: Blonde, Skin Tone: Light).
- The Voice card also has a play ▶️ button.
- Personality tab lets you revise soft traits without leaving the page (matching the Details step).
- Appearance shows your selections as cards (e.g., Voice: Sorority, Body Type: Athletic, Breast Size: Small, Butt Size: Medium, Eye Color: Blue, Hair Color: Blonde, Skin Tone: Light).
- Custom Physical Details field (pencil icon) for free-text specifics (“No custom physical details set” until you add them).
How to use:
- Review the preview. If something’s off, click the Appearance or Personality tab to adjust on the spot.
- Use the swap/refresh icon to generate a new image variant based on the same settings.
- Add any Custom Physical Details (e.g., “subtle freckles,” “heart-shaped tattoo behind left ear,” “cat-eye eyeliner”).
- When satisfied, proceed with the app’s save/deploy flow (button wording may be Save, Create, Start Chat, etc., depending on your plan).
Pro tips:
- Try one change at a time (e.g., just the hairstyle) then refresh the image to see the delta clearly.
- Save a copy before major edits so you can A/B test variants.
Quick Reference: What Each Control Does
- Gender & Style (Step 1): Sets the base rendering model (photo-real vs. anime).
- Ethnicity / Age / Skin Tone (Step 2): Establishes core identity and complexion.
- Eye / Hair Color & Style (Step 3): Defines facial palette and silhouette.
- Body / Breast / Butt (Step 4): Shapes the physique and proportions.
- Name, Voice, Personality, Role (Step 5): Governs how she sounds and behaves in chat/roleplay.
- Custom Physical Details (Step 6): Adds micro-traits not covered by presets.
- Play ▶️ on Voice: Instant audio preview.
- Premium / Custom tiles: Advanced options that may require an upgraded plan.
- Refresh icon on final image: Re-render visual variants with the same settings.
Crafting a Great Character (practical tips)
- Cohesion > randomness: Align Personality, Occupation, and Relationship so conversations feel natural.
- Signal interests: Use Hobby and Advanced Details to seed topics she’ll bring up.
- Boundaries & tone: If Advanced Details allows, specify consent language, safe words, or “no-go” topics to keep chats comfortable.
- Iterate visually: Lock face/hair first, then tune body; finish with details and re-render 2–3 times.
Troubleshooting
- A choice didn’t appear in the render: Click refresh on the final image, or revisit the specific card and re-apply.
- Voice won’t play: Check device volume; if still no audio, switch voices once to reload the preview.
- Lost progress: Use Next/Back carefully; if the app supports it, save after each step or duplicate the character before experimenting.
Ethics & Safety (recommended)
- Be mindful of consent, respect, and boundaries in personality scripting.
- Avoid using real people’s names or likenesses without permission.
- If sharing images publicly, verify the platform’s community guidelines.
You’re set! Follow the six steps, use the on-page quick-edit cards in Step 6 for rapid iteration, and you’ll have a tailored AI companion that both looks and acts the way you want.